
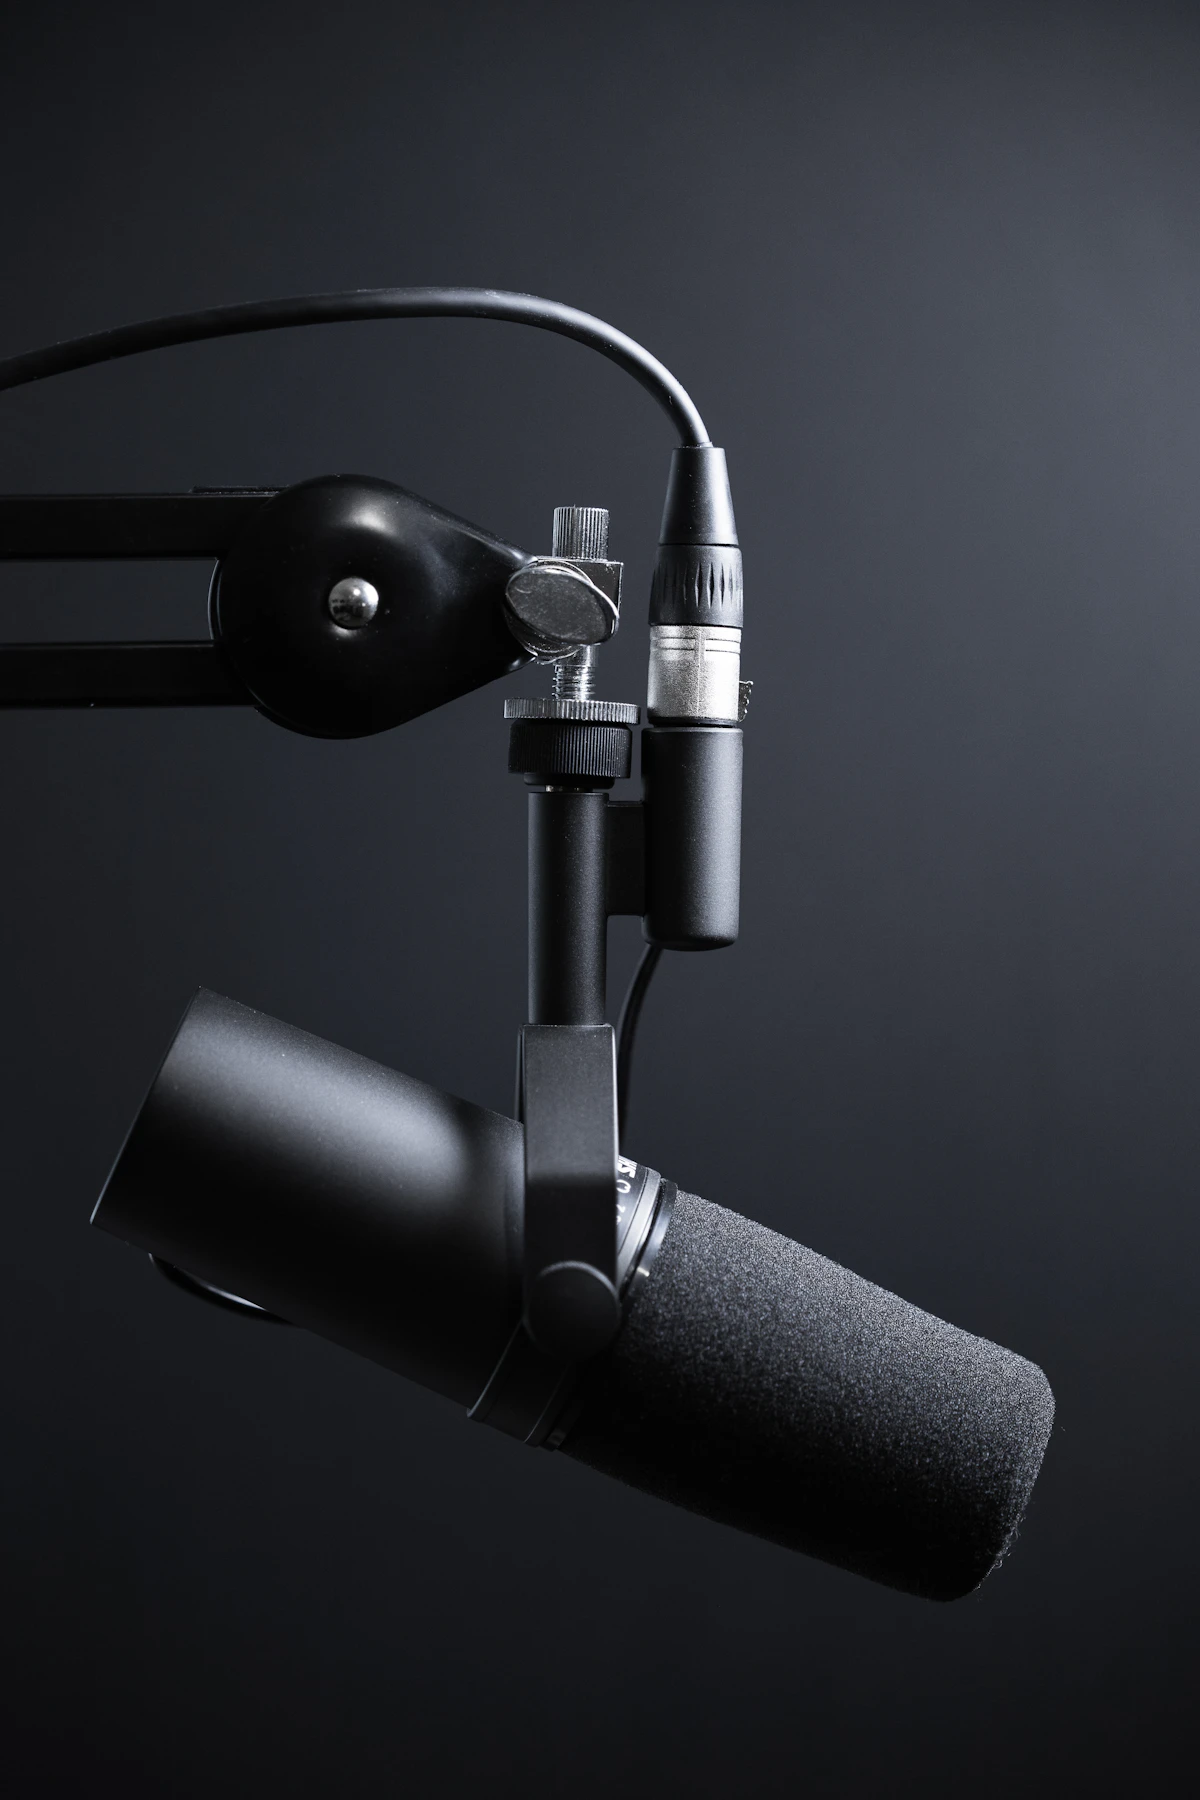
Every microphone on the market—from a budget USB desk mic to an elite Neumann studio condenser—possesses a specific polar pickup pattern. The polar pattern determines three-dimensional directional sensitivity: where the microphone captures audio with maximum clarity (the on-axis sweet spot) and where it actively rejects room noise, computer fans, and reflections (the off-axis null points).
Choosing the wrong polar pattern is the number-one reason podcasters and remote workers end up with hollow, echoey, or hollow-sounding voice recordings. In this guide, we break down every standard polar pattern, explain the acoustic physics behind them, and show you exactly when to use each one.
What Is a Microphone Polar Pattern?
A polar pattern is a 360-degree acoustic plot representing a microphone capsule's sensitivity to sound waves arriving from various angles. The front of the microphone is defined as 0 degrees (on-axis), while the rear is 180 degrees (off-axis).
Depending on how acoustic ports, phase-shift delay networks, and dual diaphragms are engineered inside the capsule casing, sound waves arriving from the sides or rear can either constructively combine or destructively cancel each other out.
1. Cardioid: The Creator & Podcaster Standard
The Cardioid pattern (named after its heart-shaped sensitivity plot) is by far the most ubiquitous pattern in content creation, streaming, voiceover, and live sound reinforcement.
- Pick-up Zone: Maximally sensitive directly in front (0°). Moderately sensitive at 90° and 270°.
- Maximum Rejection: Complete acoustic null at the direct rear (180°).
- Proximity Effect: Pronounced bass boost when speaking within 2–4 inches of the grille.
- Ideal For: Solo podcasting, live Twitch/YouTube streaming, office video calls, and untreated home studio bedrooms.
Because cardioid microphones cancel sounds arriving from 180 degrees behind the body, pointing the rear of the mic directly at your mechanical keyboard or desktop PC fan will drastically reduce unwanted background chatter.
2. Supercardioid & Hypercardioid: Tighter Side Isolation
When you need even narrower vocal isolation than a standard cardioid can offer, Supercardioid and Hypercardioid microphones provide tighter directional pickup angles (typically 115° to 105° on-axis acceptance).
However, physics requires a tradeoff: both supercardioid and hypercardioid capsules develop a small sensitivity "lobe" directly behind the microphone at 180°. Instead of maximum rejection at the rear, their dead zones shift to approximately 120°–130° (supercardioid) or 110° (hypercardioid) on the rear quarters.
Pro Tip: When using a supercardioid or hypercardioid shotgun microphone on a boom arm, angle the mic so its rear null points aim toward noisy monitors, rather than pointing the direct tail at reflective walls.
3. Omnidirectional: Natural Acoustics & 360° Field Coverage
An Omnidirectional microphone captures sound equally from all directions—front, back, left, and right (0° to 360°). It is an acoustic pressure transducer, meaning its diaphragm responds strictly to atmospheric pressure fluctuations without phase-canceling rear ports.
- Zero Proximity Effect: You can speak right against an omni capsule without muddying your voice with excessive low-end bass boom.
- Wind & Plosive Resistance: Significantly less susceptible to popping 'P' and 'B' bursts than directional mics.
- Drawback: It captures everything in the room, including HVAC hum, traffic rumble, and hard-floor slapback echo.
- Ideal For: Lapel lavalier microphones for broadcast TV, round-table discussions, field recording, and treated orchestral halls.
4. Bidirectional (Figure-8): Face-to-Face Interviews
A Bidirectional or Figure-8 pattern captures sound equally from the front (0°) and rear (180°), while completely canceling sound arriving from the left and right sides (90° and 270°).
Classic ribbon microphones naturally exhibit a figure-8 response because their ultra-thin aluminum corrugated ribbon is suspended open to acoustic waves from both faces. Multi-pattern condenser microphones achieve figure-8 by running two matched capsules with opposite electrical polarities.
- Two-Person Interviews: Two speakers sitting across a table can share a single figure-8 microphone placed between them.
- Blumlein & Mid-Side Stereo: Audio engineers frequently pair two figure-8 mics (Blumlein technique) or an omni/cardioid with a figure-8 (Mid-Side technique) to generate expansive 3D stereo recordings.
Polar Pattern Comparison Table
| Pattern | Primary Pick-up Angle | Null / Rejection Points | Proximity Effect | Best Application |
|---|---|---|---|---|
| Cardioid | Front (approx. 130°) | Rear (180°) | Moderate to High | Podcasting, streaming, gaming, home office |
| Supercardioid | Tight Front (approx. 115°) | Rear sides (approx. 126°) | High | Noisy stages, boom mics, competitive gaming |
| Omnidirectional | All 360 degrees equally | None (Uniform) | None | Lavalier lapels, roundtables, acoustic spaces |
| Bidirectional (Fig-8) | Front (0°) & Rear (180°) | Sides (90° & 270°) | Very High | 2-person podcast desks, Mid-Side stereo |
How to Switch Patterns on Multi-Pattern USB Mics
Popular USB microphones—such as the Blue Yeti, HyperX QuadCast S, and Elgato Wave:3—feature a rotary dial on the chassis allowing you to toggle between polar modes in real time.
- Solo Recording: Always verify the dial is clicked firmly onto the heart symbol (Cardioid).
- Two-Host Podcast: Switch to the figure-8 symbol (two interconnected circles) and sit directly opposite each other.
- Group Conference: Switch to the circle symbol (Omnidirectional) and place the microphone in the dead center of the table.
Before launching your recording or meeting, always run a 30-second diagnostic using our free Online Mic Test tool to inspect your live waveform and ensure your intended polar pattern is delivering crisp, noise-free input.
Reader Comments (0)
Leave a Comment ↓No comments yet on this guide. Join the discussion below!
No registration needed. Share your questions or audio setup tips.Join the Conversation
No registration required. All comments are moderated by administrators before appearing.