
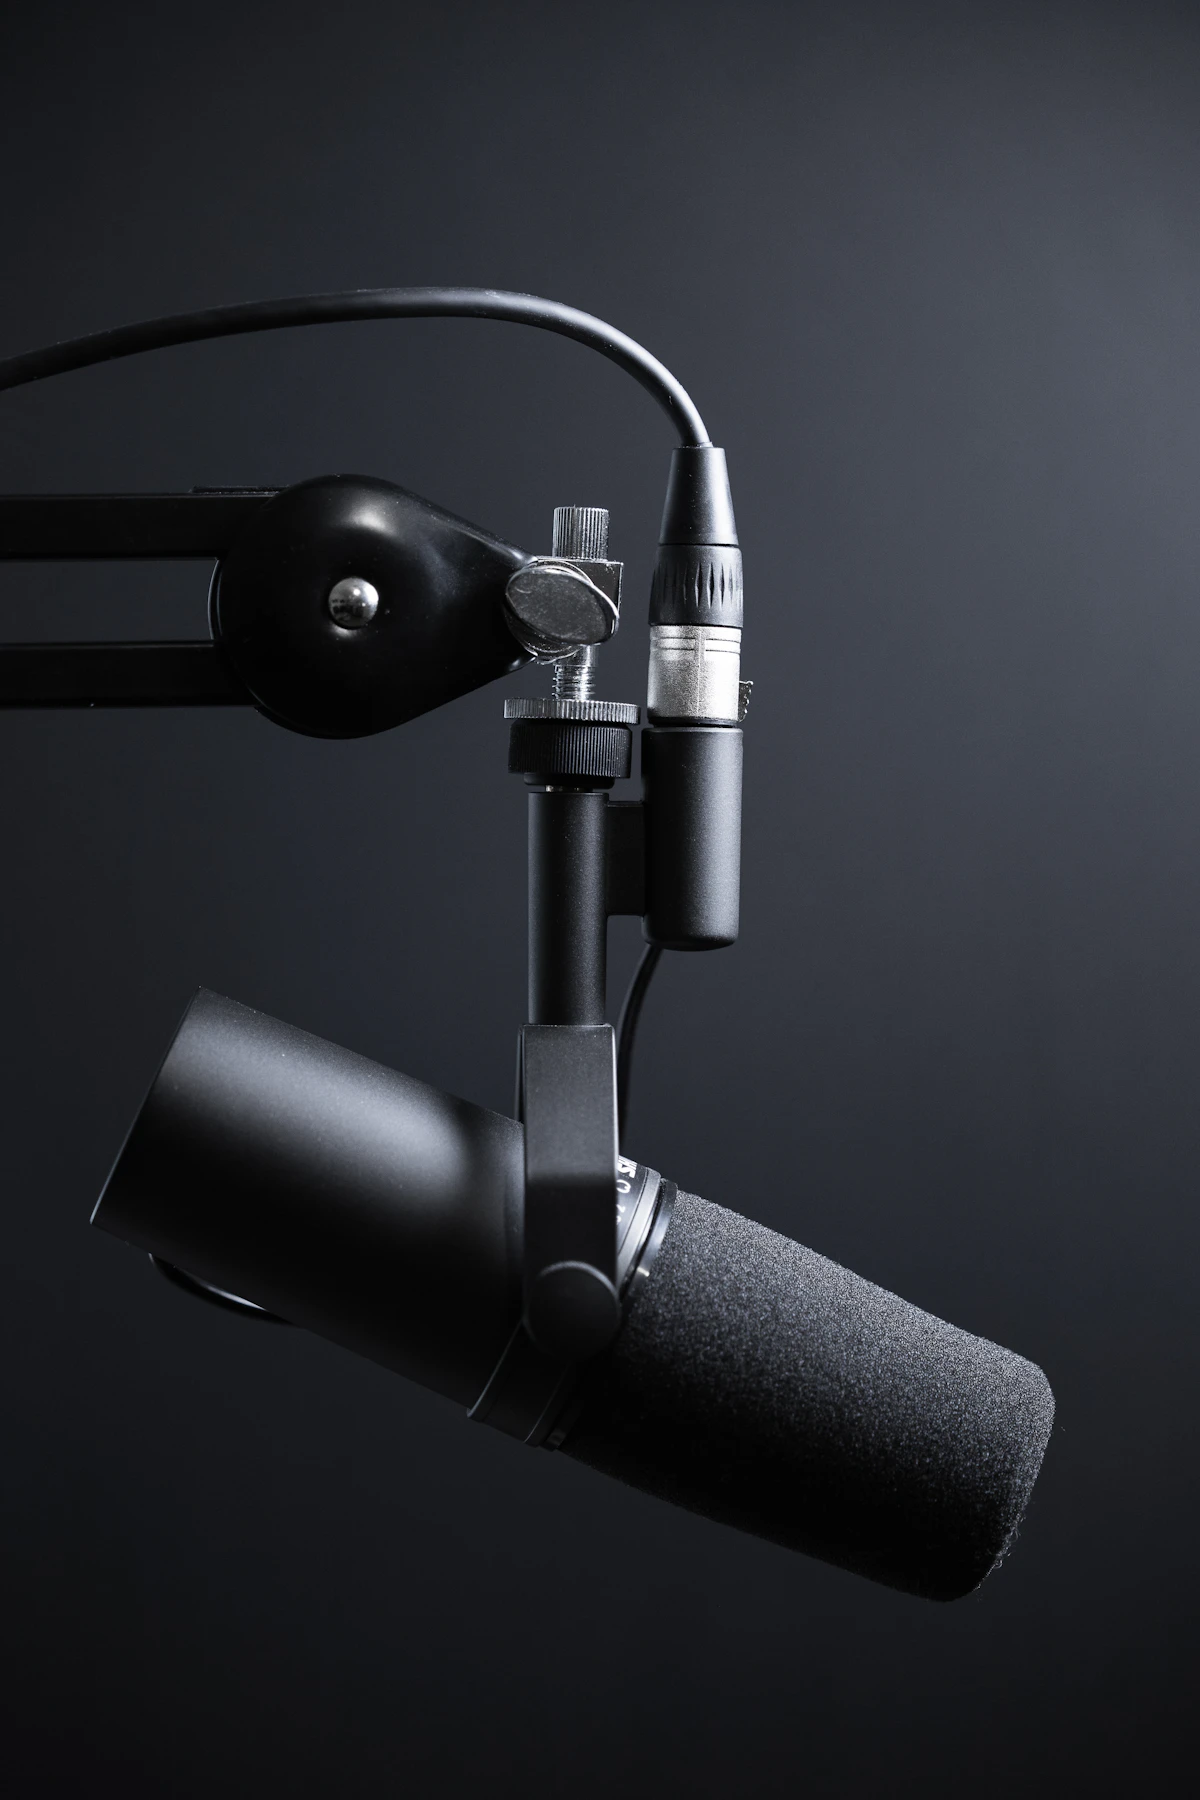
You can purchase a $400 broadcast microphone and a studio-grade audio interface, but if your microphone is positioned improperly in physical 3D space, your voice will sound hollow, muffled, boomy, or riddled with plosive pops. Microphone placement is responsible for over 80% of your final audio quality.
In this guide, our acoustic engineering team shares the exact physical positioning rules used in professional radio booths and podcast studios to achieve rich, broadcast-quality vocal authority.
The Core Golden Rule: The 3 to 6 Inch Working Distance
Sound pressure follows the Inverse Square Law: every time you double the distance between your mouth and the microphone capsule, the sound energy drops by 6 dB. Furthermore, the ratio of direct voice to room reverberation tilts rapidly toward room echo.
- Too Close (Under 2 Inches): Triggers an exaggerated proximity effect, creating muddy, boomy bass resonance that obscures speech intelligibility. Plosives ('P' and 'B' consonant blasts) easily overwhelm the capsule.
- Too Far (Over 10 Inches): Your voice sounds distant and thin. To compensate, you must turn up preamp gain, which pulls up computer fan noise, mechanical keyboard clicks, and wall reflections.
- The Sweet Spot (3 to 6 Inches): Approximately one outstretched hand span (thumb to pinky finger). At this distance, your voice remains dominant over room reflections, with balanced bass and articulate treble.
The 45-Degree Off-Axis Hack (Eradicate Plosive Pops)
When you pronounce plosive consonants like 'P', 'B', 'T', and 'K', your mouth emits a focused, high-velocity jet of air. When that air blast strikes a microphone diaphragm directly, it pushes the diaphragm against its physical excursion limits, creating a deafening low-frequency thump.
Instead of aiming the microphone directly at your mouth like an ice cream cone:
- Position the microphone slightly to the side of your mouth (about 30 to 45 degrees off-axis).
- Aim the capsule directly at the corner of your mouth.
Because directional cardioid capsules capture sound waves within a wide cone, your vocal tone remains identical. However, the jet of turbulent breath air bypasses the microphone completely, flying straight past into the room. Even without a thick pop filter, your recordings will remain 100% pop-free.
Top-Address vs. Side-Address: The Most Common Setup Blunder
One of the most frequent mistakes we encounter in home studios is speaking into the wrong end of the microphone:
- Top-Address Microphones: Sound must enter through the very top dome of the mic. Examples include the Shure SM7B, Shure SM58, Rode PodMic, Electro-Voice RE20, and Samson Q2U. You must point the top of the mic toward your mouth.
- Side-Address Microphones: Sound must enter through the front flat mesh side of the mic (usually indicated by the brand logo or an LED indicator). Examples include the Blue Yeti, Audio-Technica AT2020, Rode NT1, and Elgato Wave:3. If you speak into the top dome of a Blue Yeti, you are recording 90 degrees off-axis into acoustic dead zones!
Comb Filtering: Defeating Desk Acoustic Reflections
When your microphone sits flat on a desk surface, two sound waves reach the capsule with a millisecond delay: the direct wave from your mouth, and the sound wave bouncing off your desk surface. When these two waves collide at the diaphragm, they cancel out specific frequencies, creating a hollow, nasal hollow sound known as acoustic comb filtering.
To eradicate desk comb filtering:
- Mount your microphone on an articulated boom arm so it hovers 6 to 12 inches above desk height.
- Angle the back of the microphone down toward the desk surface so the cardioid pattern's rear rejection null point points directly at the hard desktop.
- Place a large desk mousepad or felt desk mat beneath your microphone area to absorb secondary reflections.
Reader Comments (0)
Leave a Comment ↓No comments yet on this guide. Join the discussion below!
No registration needed. Share your questions or audio setup tips.Join the Conversation
No registration required. All comments are moderated by administrators before appearing.