
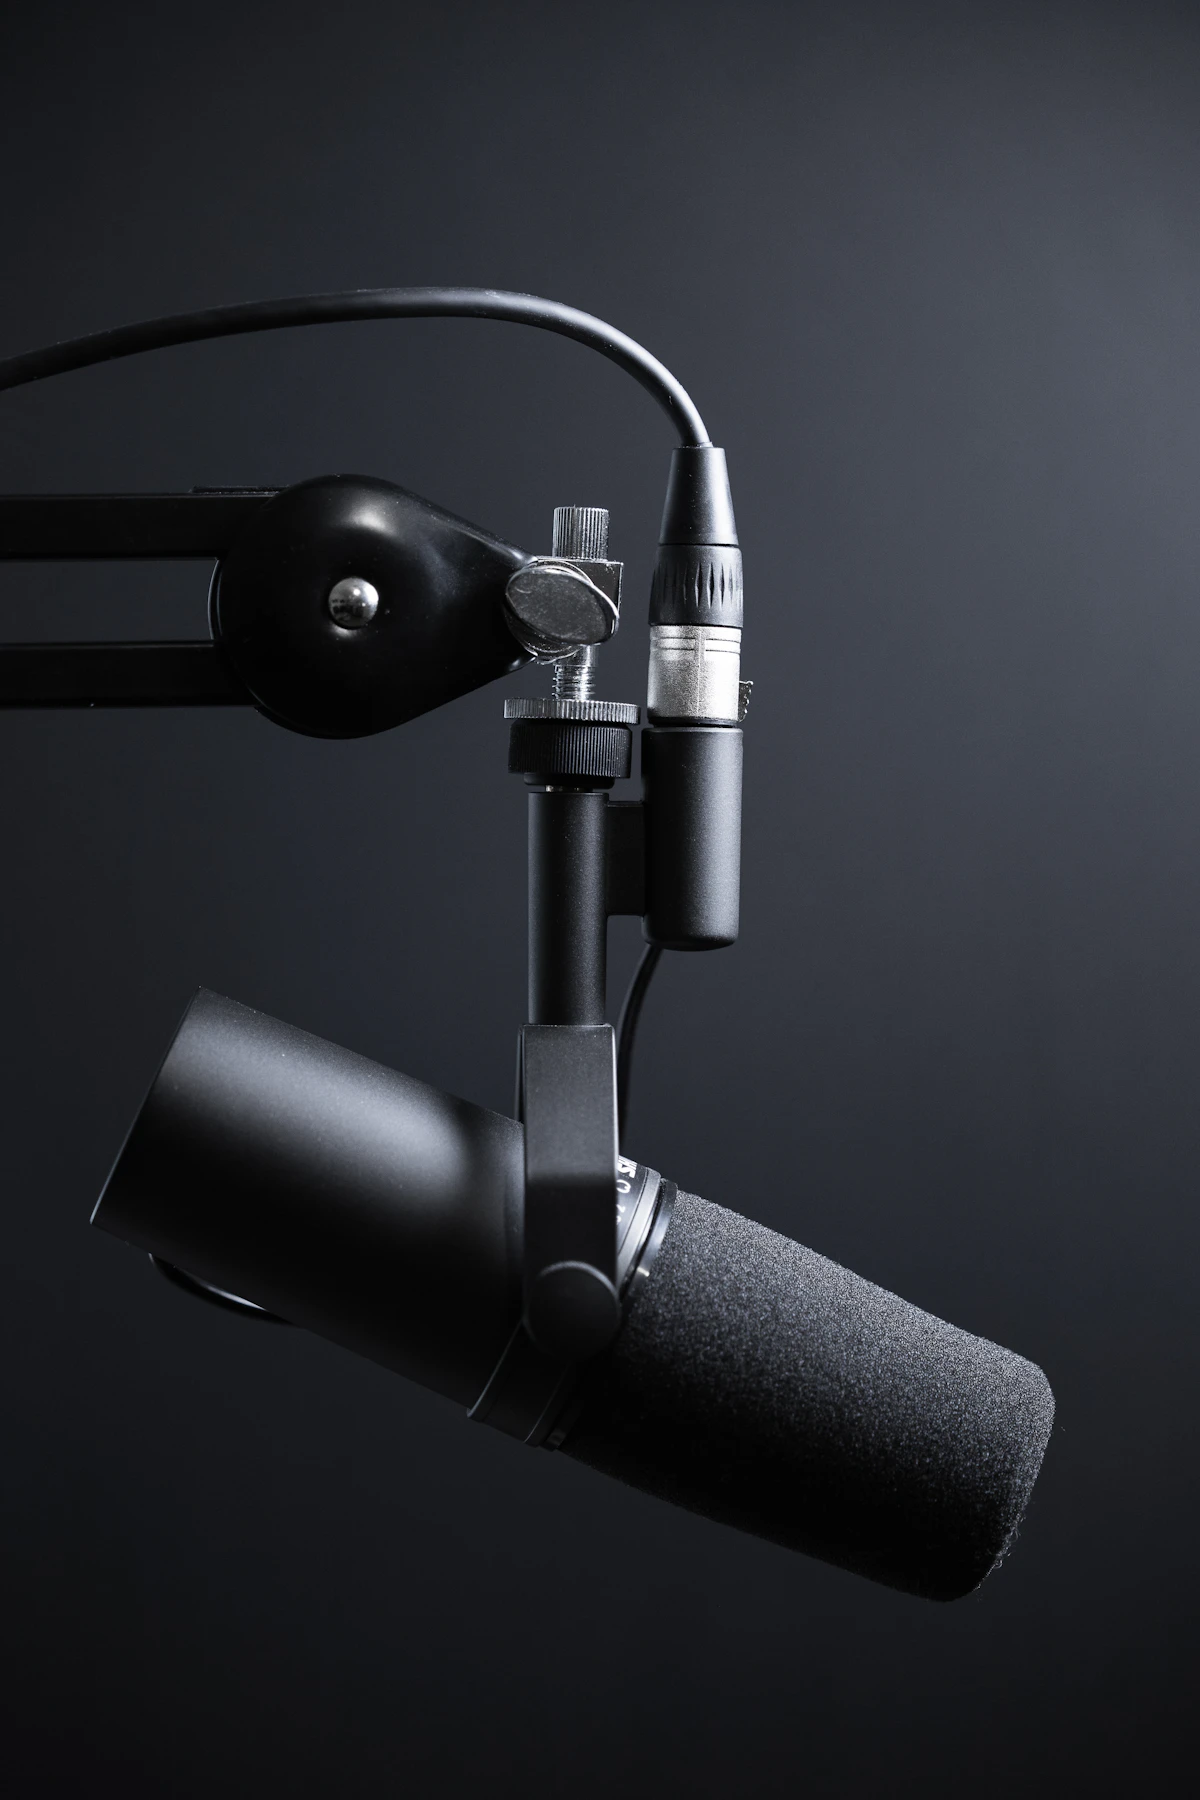
A high-quality microphone mounted on a cheap, flimsy desk stand is a recipe for frustration. Every tap of your keyboard, bump of your knee, or shift in your chair sends mechanical vibrations directly up into the microphone diaphragm as a thunderous low-frequency rumble.
An articulated microphone boom arm solves this by floating your microphone in air, decoupling it from desk vibrations and letting you position the capsule exactly where it belongs. However, choosing the wrong boom arm leads to drooping joints, squeaky springs on stream, or cracked desk surfaces. Here is our complete hardware guide to choosing the right arm.
1. Internal Springs vs. External Scissor Springs
When shopping for boom arms, you will notice a stark difference between cheap $20 arms and premium $80–$150 arms:
- External Scissor Springs (Budget): These use exposed tension springs stretched across metal struts (similar to architect drafting lamps). Whenever you adjust the arm mid-call or bump the desk, these springs vibrate like guitar strings, sending loud metallic pinging sounds directly into your recording. Over time, external springs stretch and lose tension.
- Internal Tension Springs (Professional): Found on arms like the Røde PSA1+ and Elgato Wave Mic Arm. The springs are housed inside enclosed aluminum channels insulated with neoprene acoustic dampening. You can reposition the arm silently on a live microphone without introducing any audible noise.
2. Low-Profile (LP) vs. High-Rise Articulated Arms
In recent years, the boom arm market has split into two distinct design philosophies:
High-Rise Overhead Articulated Arms (Rode PSA1+, Blue Compass)
These arms clamp to the back or side of your desk and sweep high up over your desk surface before dropping down in front of your mouth.
- Best For: People with multiple stacked monitors who need the arm to reach over screens, or creators who want the microphone descending from above.
- Downside: The arm struts are visibly prominent and can cross in front of your monitors or webcam line of sight.
Low-Profile (LP) Boom Arms (Elgato Wave Mic Arm LP)
Low-profile arms sit flat against the desktop, sweeping horizontally underneath your computer monitors and rising up just below your chin.
- Best For: Content creators, streamers, and remote professionals who want an open, unobstructed view of their monitors. The arm remains below the camera frame line, creating a clean, modern aesthetic.
- Downside: Requires adequate clearance between the bottom of your monitor and your desk surface (typically 4 to 5 inches).
3. Weight Capacity: Calculate Before You Buy!
One of the most common mistakes is purchasing an arm that cannot support your microphone setup. A heavy broadcast microphone like the Shure SM7B weighs 765 grams. When you add a heavy metal shock mount (200g), a pop filter (100g), and a thick XLR cable (150g), your total load reaches 1.2 kg (2.6 lbs).
A cheap boom arm rated for 700g will slowly droop, sag, or snap at the elbow joint under that load. Always check the manufacturer's maximum payload rating:
- Lightweight Mics (USB condensers, lavaliers): 500g – 700g rating is sufficient.
- Heavy Broadcast Mics (SM7B, RE20, PodMic): Look for an arm rated for at least 1.5 kg to 2.0 kg (3.3 to 4.4 lbs).
4. The Desk Clamp & The 'IKEA Hollow Desk' Warning
Boom arm C-clamps exert concentrated downward and torsional force on your desk edge. If your desk is solid hardwood, plywood, or butcher block, standard C-clamps grip rock-solidly.
However, if your desk is made of hollow-core honeycomb cardboard inside thin particle board (such as the popular IKEA Linnmon or Lagkapten tops), tightening a metal C-clamp can crush the hollow interior or puncture a hole straight through the desk surface.
Pro Tip: If using a hollow particle-board desk, place two small hardwood blocks or buy an inexpensive steel desk reinforcement plate to sandwich the desk edge. This spreads the clamping pressure across 10 times the surface area, preventing desk damage entirely.
Reader Comments (0)
Leave a Comment ↓No comments yet on this guide. Join the discussion below!
No registration needed. Share your questions or audio setup tips.Join the Conversation
No registration required. All comments are moderated by administrators before appearing.